Home » Learning Curve
1st Time Clipothèque?A tutorial that coincides with the upcoming Clipothèque release.
Clipothèque users may be divided into two broad categories.
- Those who immediately 'get it'.
- Those who don't.
Those users who don't immediately 'get it' seem to never 'get it'. The purpose of this tutorial is to help those in the second category to 'get it'. Immediately.
What Is It?
As the name implies: Clipothèque is a way to collect, archive, search, and play back 'clips'. The term 'clip' here takes on a broad meaning: whilst it can refer to a YouTube, Vimeo, Joost, College Humor type of clip it can also refer to ordinary image files, QuickTime movie and music clips, ordinary HTML files, and more.
The only limitations imposed are on the preview window; in its most basic form Clipothèque collects browser bookmarks - both on the web and local. Anything that can be expressed in URL form.
1st Glance
Clipothèque starts with two windows immediately visible.
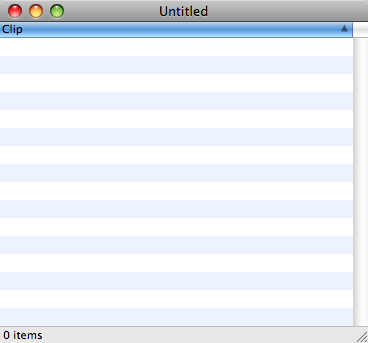 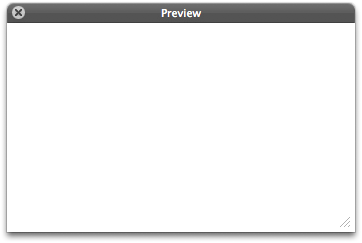
The first is a document window: this is where you store clips. The second is the Clipothèque preview window: this is where you preview them.
You can have as many document windows open as you like but there is only one preview window for the application. The preview window automatically 'previews' whatever clip you've selected in any of your document windows.
1st Clip
- Launch Clipothèque. Position the document window so you can get at it later. You can close the preview window for now. (Or not.)
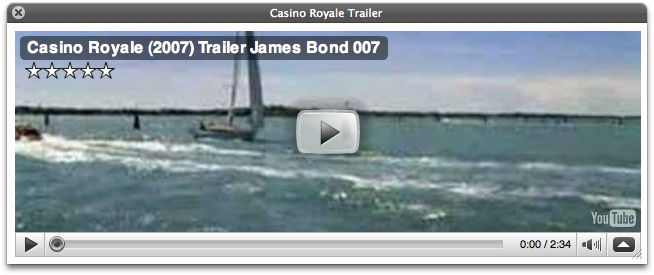
- Click the following link to open it your web browser.
http://www.youtube.com/watch?v=bN32Bnk8zEU

- Go to the location bar in your browser and select the entire URL.

- Drag the URL to your Clipothèque document window.
- A 'add/edit' sheet will open on your document window. This sheet has three fields; the second and third fields are automagically already filled in.
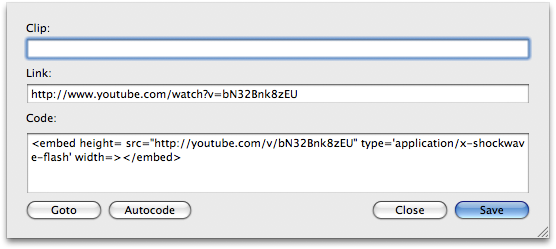
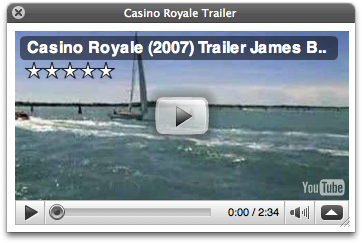
- Add a title/description such as 'Casino Royale Trailer' in the first field ('Clip') and click 'Save' to dismiss the sheet. If your preview window is visible (⌘P) you should immediately see your clip appear.
- You don't have to settle for that small preview window size. And you don't have to settle for YouTube's prefab sizes either. Drag the preview window out until you get the size and aspect ratio you want. Both are displayed in the window title bar as you drag.
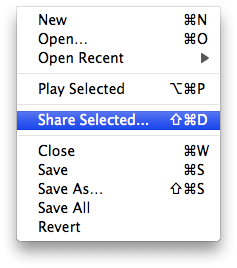
- With your new clip still selected choose 'Share Selected... from the File menu (⇧⌘D).
- The 'share clips' sheet will open on your document window. This sheet has three fields: the addressees, your sender address, and your message. Your selected clip is already attached.
- Fill in at least one addressee; separate addressees with commas; all messages are sent individually so no one sees anyone else's address. As this is a test: perhaps include your own address so you can see the results.
- Your current list of sender addresses is available in the combo box; choose one or write a new one in yourself.
- Compose a greeting in the message box.
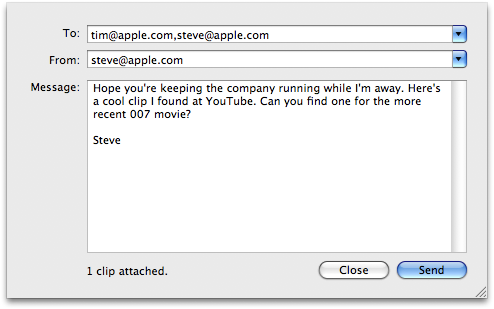
- Click 'Send' to send the clip to your addressees. [Note: it's sent to each in turn; no one's address is exposed.]
- Close the sheet when the messages have been sent.
That's all there is to it.
Clipothèque & Spotify
Working with Spotify is even easier: as the Spotify crew use a fancier drag format you get all three fields filled in at once.
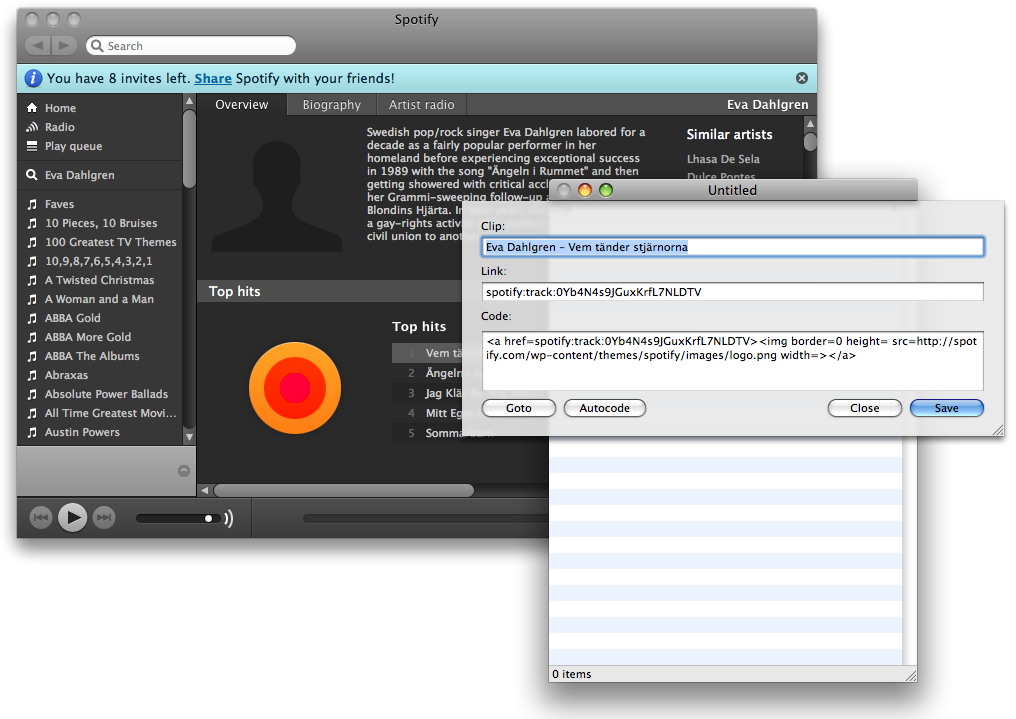
Clipothèque now supports Spotify. |
|